
Guide ·
How to stop flying creeps in tower defense
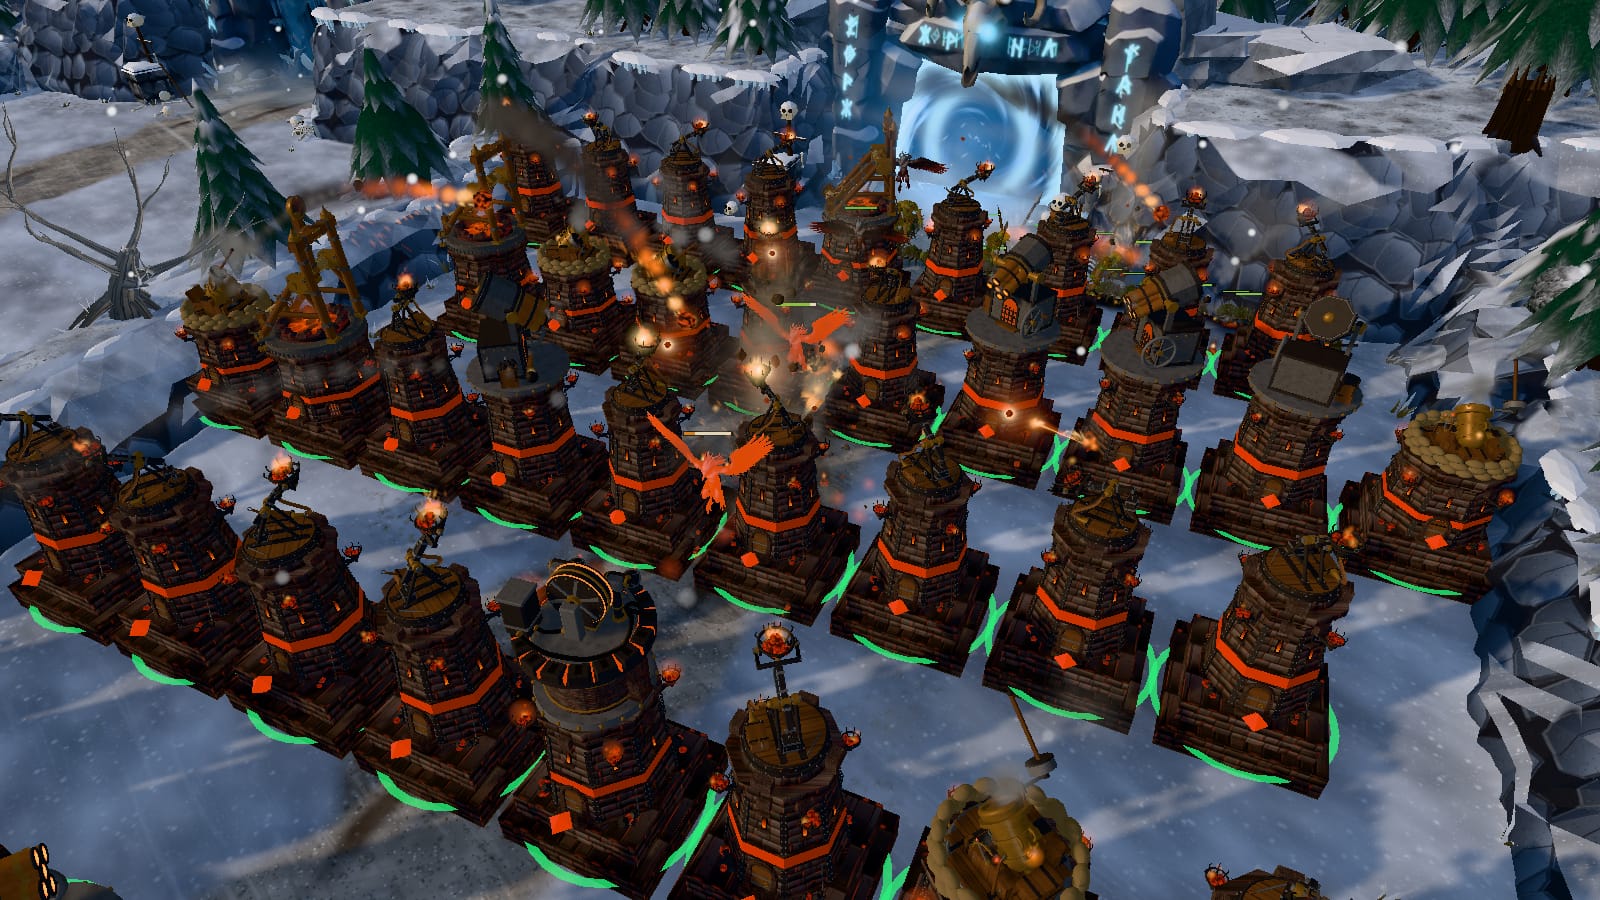
Your maze is the best weapon you have in The Last Maul, and flyers don't care about it. They cross your lane in straight lines, over towers and walls alike, and a maze built only for walkers lets them through untouched: a flock of bats can leak on a wave your maze would have handled easily on foot. This guide shows which creeps fly, how they move, and how each race shoots them down.
Which creeps fly
Four creeps fly. Two are ordinary creeps that come in flocks, two are bosses.
| Creep | Element | What it is |
|---|---|---|
| Bat | water | Fast flyers in flocks; the first flyers you meet, early in Act I |
| Wyvern | fire | Bigger flyers that join the waves from wave 21 on |
| Dragon Lord | fire | A flying boss, also from wave 21 |
| Stormwake | water | A flying boss of Act II and later |
Every one of them carries an element, so the element triangle matters here as much as on the ground: fire towers hit the water bats at 0.5×, water towers hit the fire wyverns at 1.5×.
How flyers move
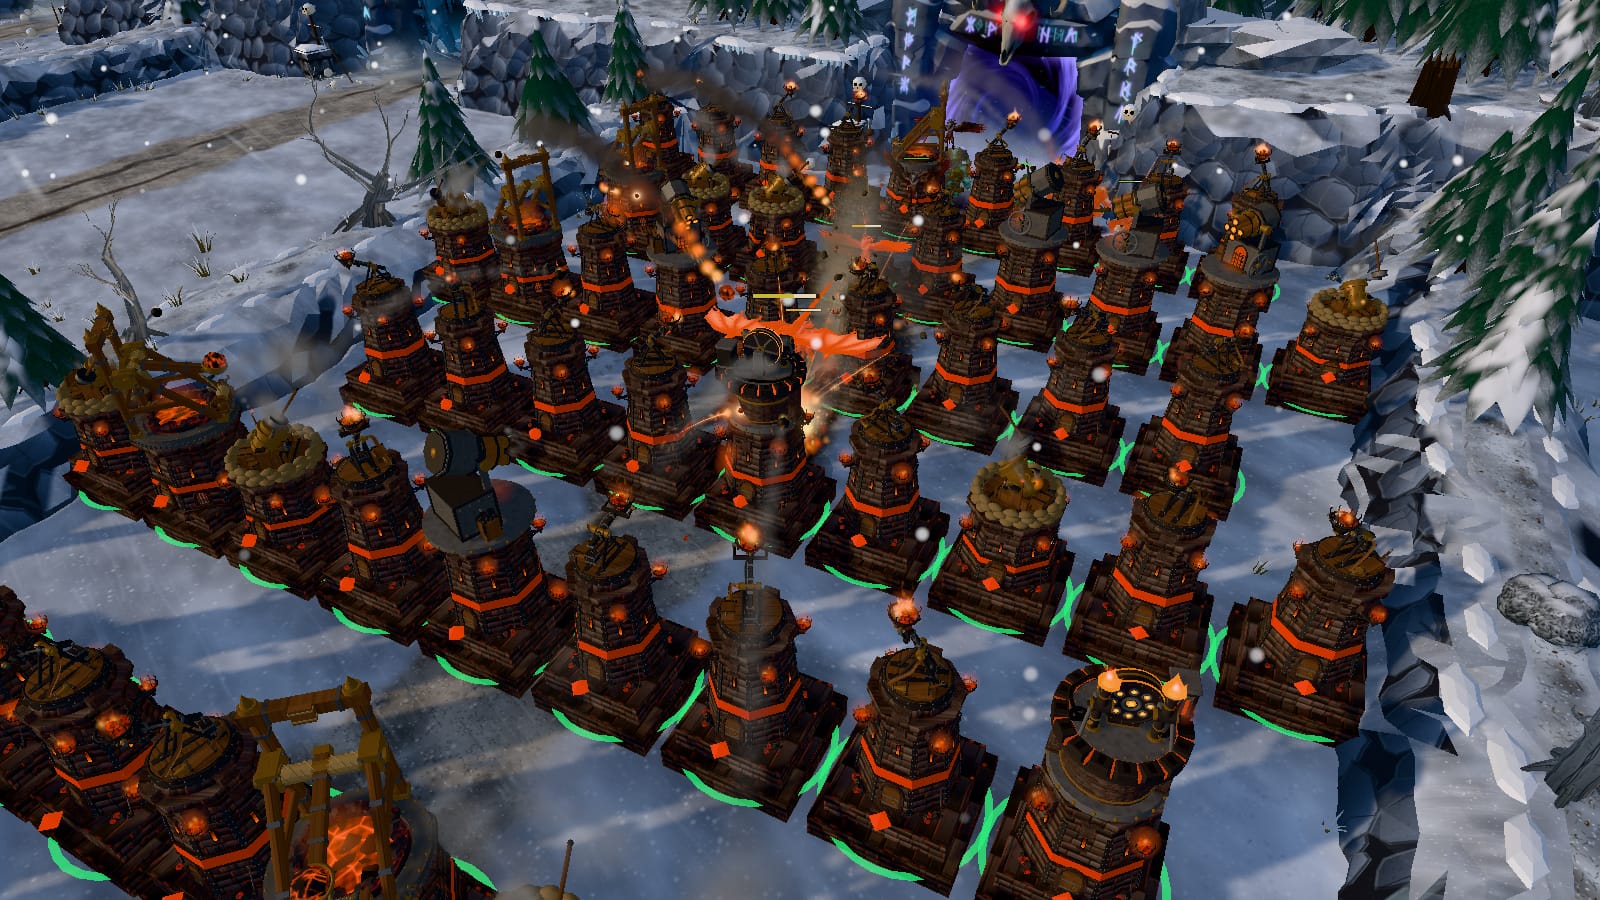
Flyers follow a fixed route from their spawn to the goal, made of straight lines, and your towers never change it. On most maps that route is a near-straight line down your lane, much shorter than the walk your maze forces on ground creeps:
| Map | Ground walk, empty lane | Flight |
|---|---|---|
| Standard | 111–181 tiles | 100–145 tiles |
| Zigzag | 125–195 tiles | 100–128 tiles |
| Gauntlet | 193–233 tiles | 186–192 tiles |
| Cross | 74–98 tiles | 63–71 tiles |
| Radial | 75 tiles | 66 tiles |
| Spiral | 118–136 tiles | 127–145 tiles |
The ground numbers are for an empty lane; a good maze makes the walk two or three times longer. The flight never grows. That is the whole problem in one table: the same towers get far fewer shots at a flyer than at a walker. On the Spiral map the flyers follow a curved route that is about as long as the walk, which makes it the friendliest map against flocks.
Each map's page draws the flight routes as dashed lines: all maps.
Where to put anti-air
Because the route is fixed, you know exactly where every flyer will be. Use it:
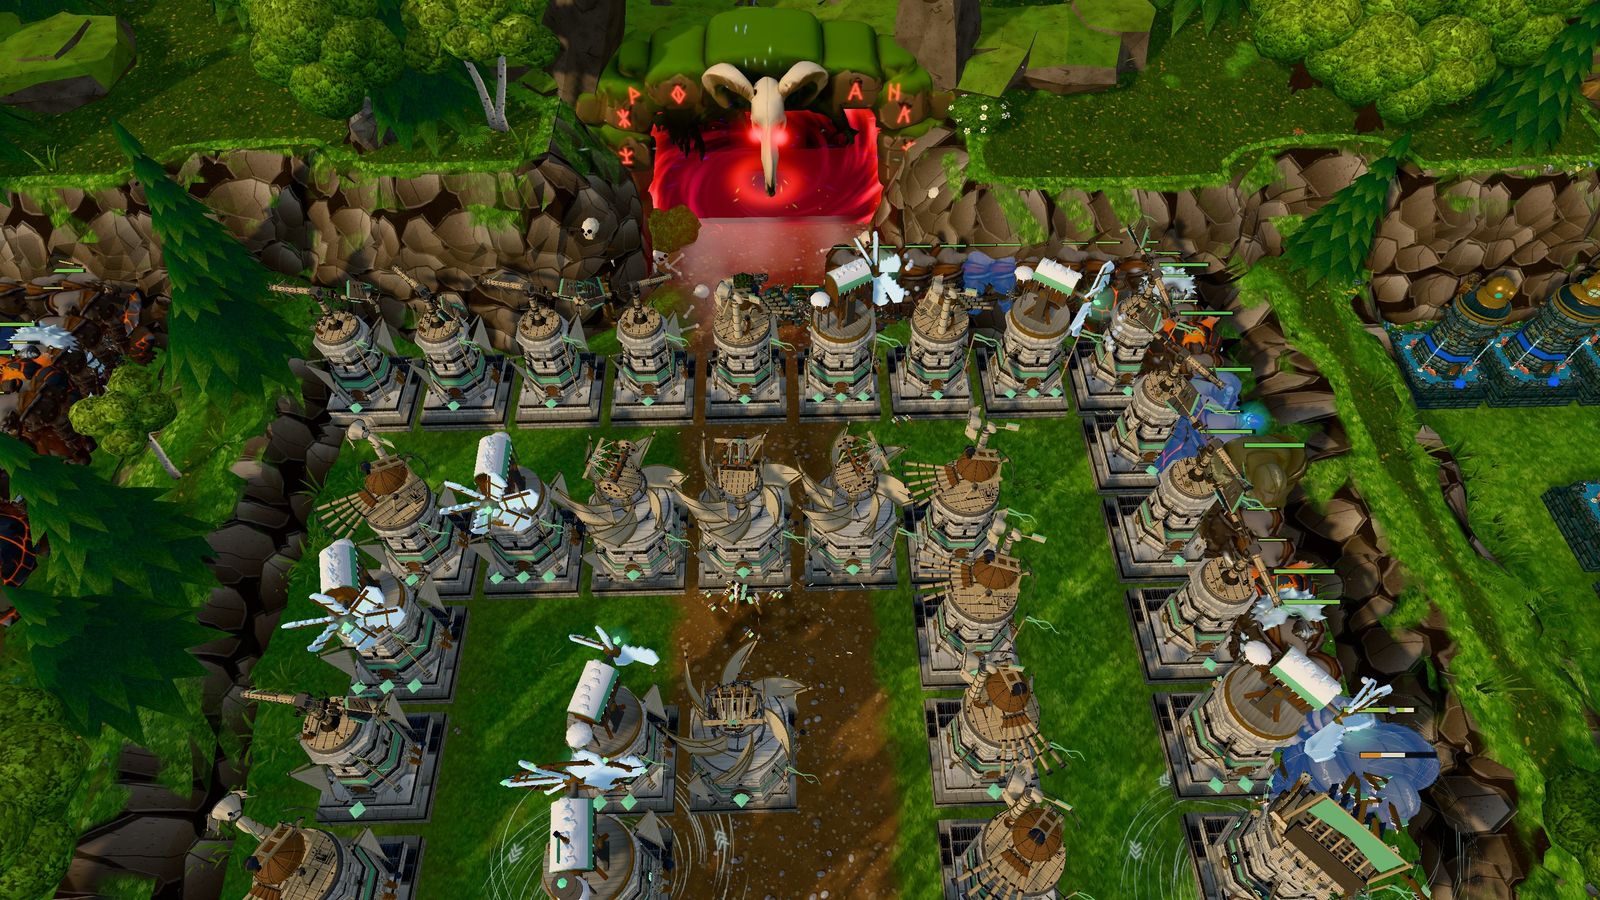
- Stand towers along the flight line, not at the far edges of your maze. Look at the dashed line on your map's page, or watch the first bats of a game, and put your anti-air within reach of it.
- Cover the line twice. A tower near the middle of your lane covers the line from both sides of its range. Long-range towers in the centre of a spiral maze often reach the flight line too, so they do double duty.
- Near the goal is late, not wrong. The shared zone before the goal is where every lane's flyers pass. Team towers there catch what got through, but a flyer that reaches the goal costs a life, so don't rely on it alone.
- Flying bosses cost one life, ground bosses 3. A Dragon Lord that gets through hurts less than a ground boss, but it still counts, and it comes with a flock.
Towers that shoot flyers first
Every tower can hit a flyer. Some towers go further: they pick flyers first whenever one is in range, before any ground creep. These are your anti-air. Every race has at least one:
| Race | Anti-air towers | Notes |
|---|---|---|
| Fire | Cluster Mortar (360 gold) | Flak: half damage to ground creeps, full to flyers |
| Frost | Ice Shot (300 gold) | A Sniper branch with a very long reach |
| Storm | Lightning Tower (200 gold), Storm Caller, Tempest | Storm's whole lightning line; strong against Grouped enemies, flyers |
| Nature | Poison Tower (110 gold), Plague, Spore Cloud | The cheapest anti-air line in the game |
| Water | Riptide (260 gold) | A Geyser branch |
| Light | Pulsar (260 gold), Seraph | Pulsar is a Beacon branch, Seraph the ultimate |
| Gale | Archer (200 gold), from its second tier | A Bowman branch |
| Arcane | Monolith (340 gold) | Flak like the Cluster Mortar; Arcane also deals extra damage to flyers from Act II on |
Two of these are flak: the Cluster Mortar and the Monolith are built for the sky and deal reduced damage to ground creeps, so they belong next to the flight line, not in the middle of your ground maze. The others hit ground creeps at full strength, so they earn their place in the maze when no flyers are around.
A plan for the first flyer waves
- Before the first bats: know your race's anti-air tower from the table above and where your flight line runs.
- First flocks: one anti-air tower within reach of the flight line, early in your lane, is usually enough. Your ground maze towers near the line help.
- Before wave 21: wyverns and the first Dragon Lord arrive. Have two or three anti-air towers along the line, and upgrade them before you spend on your next ground ultimate.
- In co-op: if your race is weak in the air, say so. A teammate whose race is strong against flyers can cover the shared zone, and gold gifts let you fund each other's anti-air. The co-op guide explains sharing.
Watch the wave preview between waves: it shows what is coming, flyers included, so you can build before they arrive instead of after they leak.
Ready to try it? Open The Last Maul at thelastmaul.com/play, pick a race and see how early your first anti-air needs to be. New to the game? Start with Tower defense tips for beginners.