
Guide ·
Tower defense maze strategy: the best maze for every map
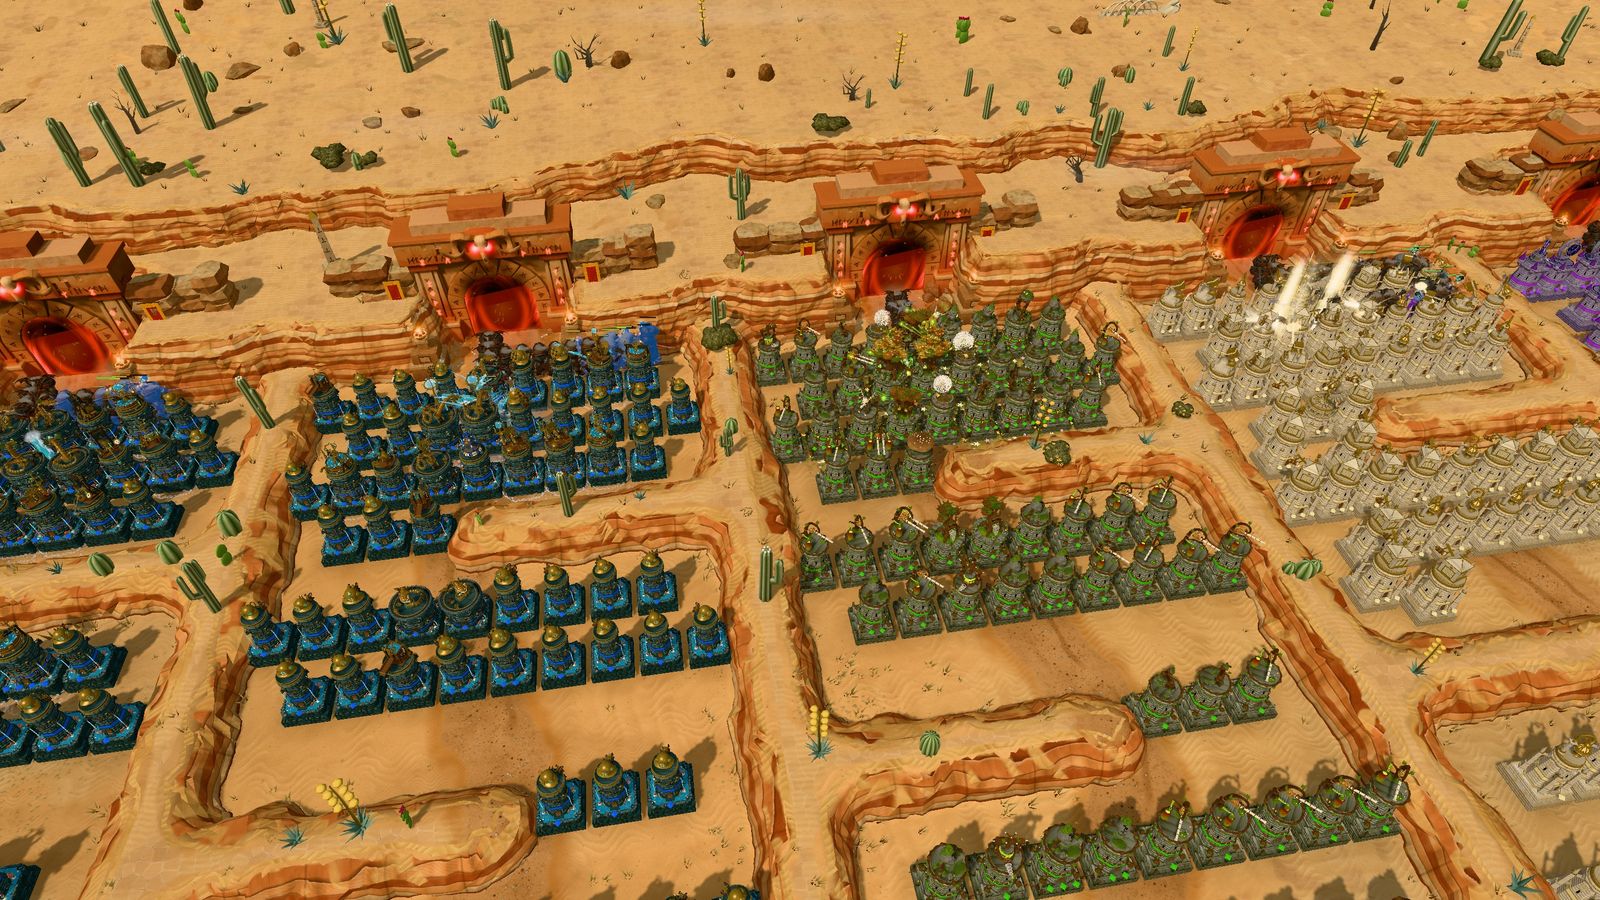
In The Last Maul your towers are the walls. Creeps always take the shortest open way to the goal, so every tower you place changes that way, and a good maze turns a short lane into a long walk past everything you built. This guide shows the maze shapes that work, then goes map by map through what each of the 7 layouts asks of you. If you have never built a maze before, read How to maze first: it covers the rules this guide builds on.
The three rules every maze follows
Every maze in The Last Maul, on every map, comes down to three rules the game really plays by.
- You can't block. If a tower would close the last way to the goal, the game refuses to build it. Your maze must stay open, so you build detours, not dead ends.
- Towers take 2×2 tiles. Creeps walk on the tiles between towers, so a one-tile gap is already a corridor. A wall of towers with one gap is the basic building block of every shape below.
- Walking time is damage time. A creep that walks twice as far is shot twice as long. Every tile you add to the walk works for every tower you own, which is why bricks early on are worth more than one strong tower.
During a wave you can still build, but you can't keep sending creeps back over ground they have already walked. Big rebuilds belong in the 20 s break between waves, when the lane is empty.
Maze shapes that work
The zig-zag (snake)
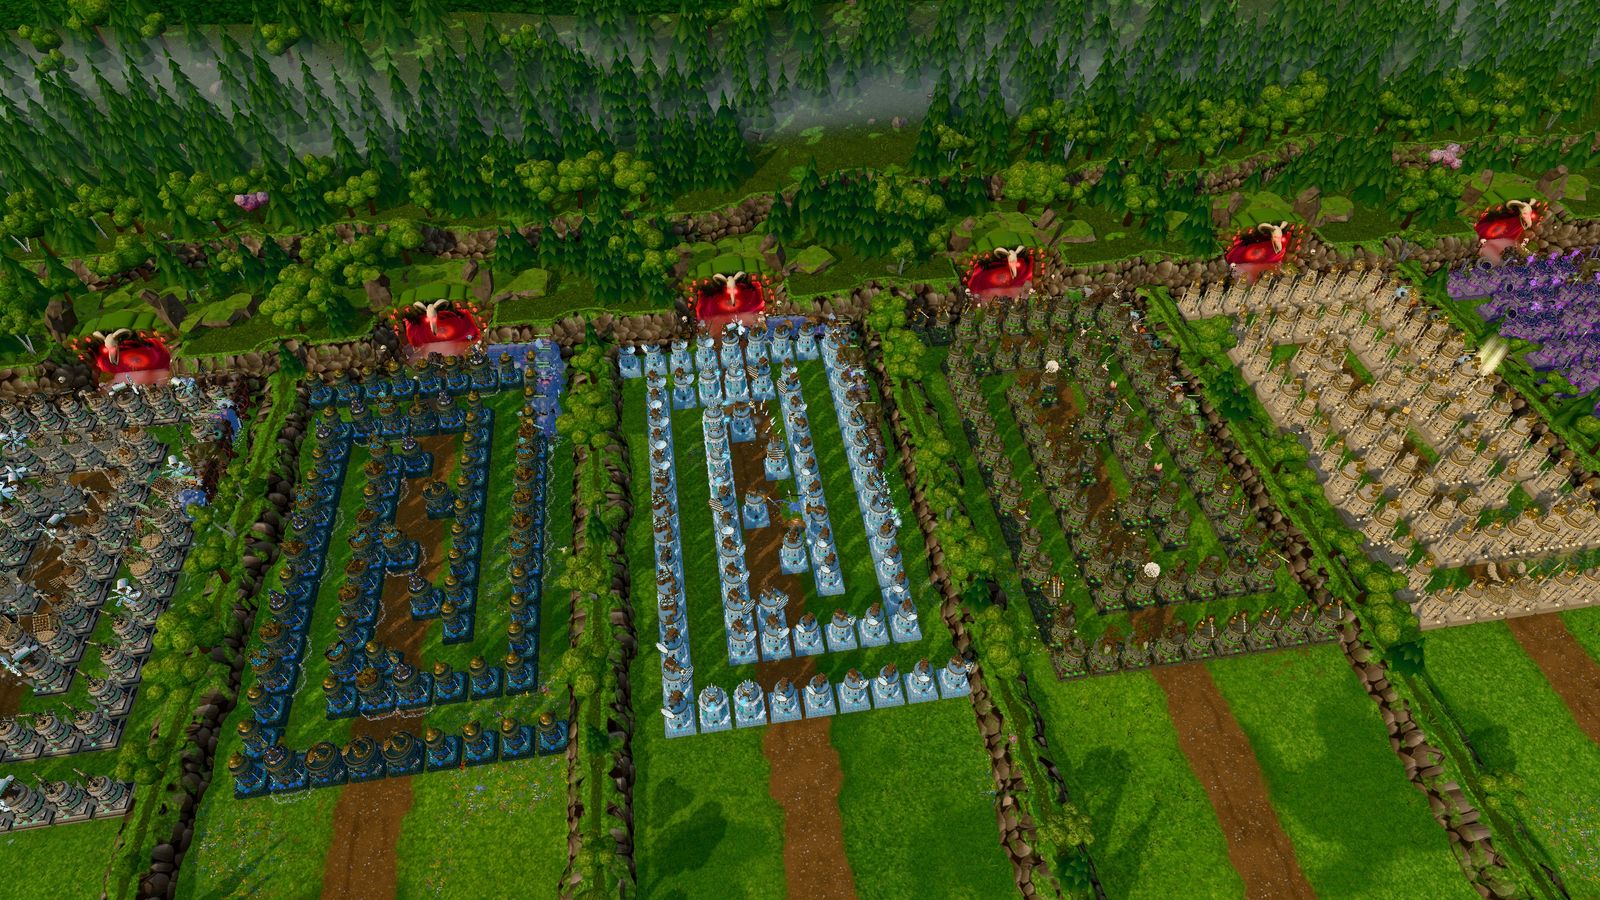
Lay a wall of towers across your lane with one gap at the left end. Below it, lay the next wall with the gap at the right end. Repeat. Each wall makes the creeps cross the whole lane once more, so the walk grows by a full lane width per wall. It is the cheapest shape to start: a few bricks per wall, and it works on every map.
Where to put damage: your strong towers go inside the snake, between two walls, where creeps pass them on the way out and again on the way back. A tower at the very end of a wall sees one corridor; a tower in the middle of the snake sees two.
The spiral (snail)
In a square build zone, a spiral is the strongest shape: the creeps walk in towards the centre, turn, and walk back out alongside their own trail. Towers in the middle of a spiral cover several rings of the path at once, so long-range towers in the core get the most shots of any spot in your maze. It costs more towers than a snake to finish, so most players start with a snake and fold it into a spiral as gold comes in.
The U-turn
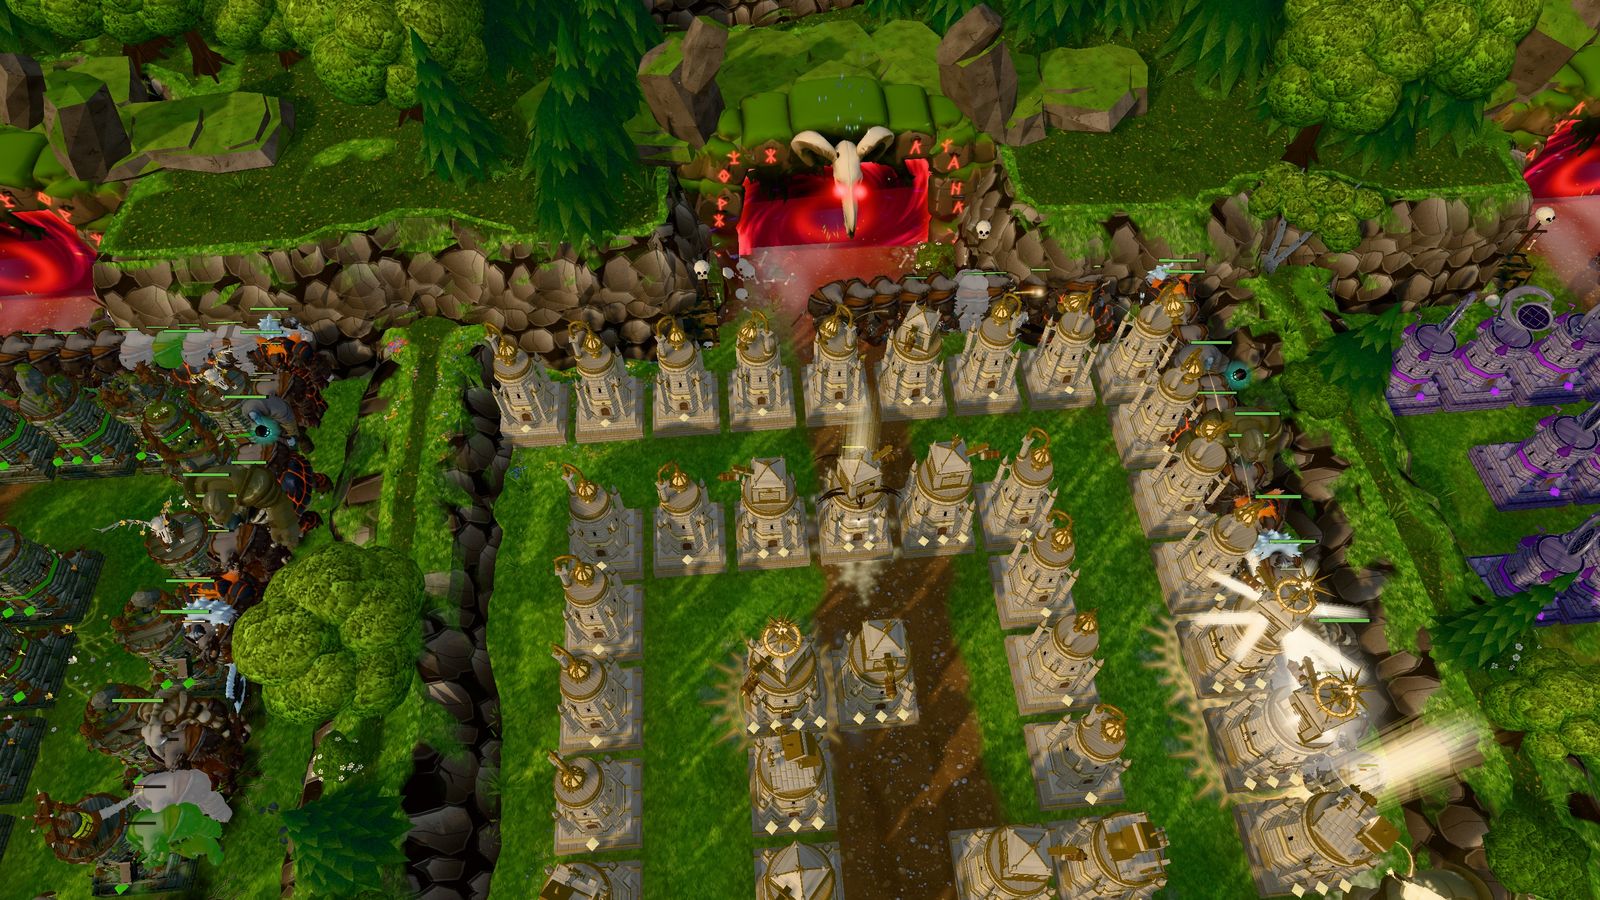
The simplest long walk on a narrow lane: one long wall down the middle with the gap at the bottom. Creeps walk down one side and back up the other, past the same towers twice. It is quick to build in the first waves and easy to grow into a snake later by adding short walls on each side.
Where slows and splash go
- Slows belong at the start of a long stretch: every tower after them gets more shots at a slowed creep. Slowed creeps also regenerate at only 50% of their normal rate.
- Splash belongs where creeps bunch up: in the turns, where the corridor folds back on itself.
- Long range belongs in the middle, where one tower can reach two or three corridors.
Map by map
Every map has eight lanes. With fewer players only some of the lanes are in play, from the middle out. The numbers below are for a full game of eight: the walk is the creeps' path through an empty lane, before you build anything.
Standard
Normal. The walk through an empty lane is 111–181 tiles, and your own build zone is about 1000 tiles. This is the map to learn on: a wide, open zone where a snake grows into a spiral without surprises. The lanes meet in one shared zone before the goal, which is the place for team towers late in a game.
Zigzag
Normal. The cliffs already bend the path (125–195 tiles), so don't fight them: build your walls along the bends the cliffs start, and every wall you add stretches an S that is already there. Flyers cross it in a straighter line (100–128 tiles), so keep some damage near the middle of the lane.
Gauntlet
Normal. The longest walks in the game (193–233 tiles) and the biggest build zones (about 1500 tiles each), but narrow. Wide spirals don't fit; long U-turns and tight snakes do. You have room for many walls, so the Gauntlet rewards a steady supply of cheap bricks over a few expensive towers early.
U-Shape
Hard. The creeps walk 170–233 tiles, down your lane and back up a shared valley. There are 2 shared build zones, so on this map the team's shared towers matter more than anywhere else: agree who builds where before the late waves.
Cross
Hard. A short walk (74–98 tiles) on a smaller map, so every tile of maze counts double. Start your snake right at the top of your zone and use the whole width: on the Cross a lazy first maze leaks early.
Spiral
Hard. The map already walks your creeps in a curve (118–136 tiles), and on this map the flyers follow a curved route too (127–145 tiles), almost as long as the walk. Build zones of about 686 tiles, smaller than on the open maps: finish a tight snake before you try anything bigger.
Radial
Very Hard. The hardest map: every lane is the same short walk (75 tiles) into a central keep, and the build zones are small (about 686 tiles). There is no space to waste: a tight, finished snake beats a big unfinished spiral. Upgrades matter earlier here than on any other map, because you run out of room for new towers before you run out of gold.
Growing a maze through a game
A maze is never finished. A good pattern over the first act:
- Waves 1–5: bricks. Your race's cheapest tower, laid as the first two or three walls of a snake. You start with 100 gold; spend it, because gold in the bank earns nothing.
- Waves 5–15: close the snake across the whole zone, then put your first real damage inside the bends. Upgrade a tower when the upgrade costs less than the maze it would take to match it.
- Waves 15 and on: fold the snake into a spiral where the zone is square enough, and save for your race's ultimate. Sell bricks in the wrong place: selling gives back 75% of what you spent.
Send waves early once your maze is ready: pressing Ready in the break pays every player bonus gold (6 for wave 1, 25 by wave 20).
Common maze mistakes
- Long walls with no damage inside. A snake made only of bricks is a long, safe walk. The walk only kills if towers cover it.
- Building during the wave. A tower takes time to build (1 s for a brick, up to 9 s for an ultimate) and doesn't shoot until it is done.
- Forgetting the sky. Flyers ignore your maze completely. Read how to stop flying creeps before wave 20.
- Ignoring the elements. A maze full of towers that are weak against the next wave loses to it. The element guide explains the 1.5× / 0.5× rule.
Every map has its own page with the full diagram: all maps. Then try a maze in a real game: open The Last Maul at thelastmaul.com/play and press Quick Play, or play today's Daily and see how your maze compares on the board.